Import Leads
Overview
Import Leads adds many leads at once from an Excel or CSV file. Use it when you already have a list of opportunities — an export from another CRM, enquiries collected offline, or a batch of enquiries from an ad campaign.
Like Import Contacts, the page is a history of past imports, and each new import runs through a four-step wizard. The difference is what the steps collect: leads carry status, stage, priority and campaign attribution that contacts do not.
Access
- Navigation path:
Sidebar > Leads > Import Leads - Route:
/import-leads - Access: available to users who can import leads.
Prerequisites
- A file in XLSX or CSV format, up to 1 GB.
- A contact for each lead. A lead is an opportunity attached to a person, so your file needs a column that identifies the contact (name, email or phone).
- To use Send User Enquiry in step 3, you must first connect and enable the relevant channel — see SMTP for email and WhatsApp for WhatsApp.
- To map a column with no matching field, create one during the import or set it up first under Lead Fields.
The Import List
| Column | Meaning |
|---|---|
| File Name | The file that was uploaded |
| No. Of Records | How many rows the file contained |
| Imported Records | How many rows became leads |
| Failed Records | How many rows could not be imported |
| Created At / Created By | When the import ran, and who ran it |
| Updated At / Last Updated By | When it last changed, and by whom |
Step 1 — Upload
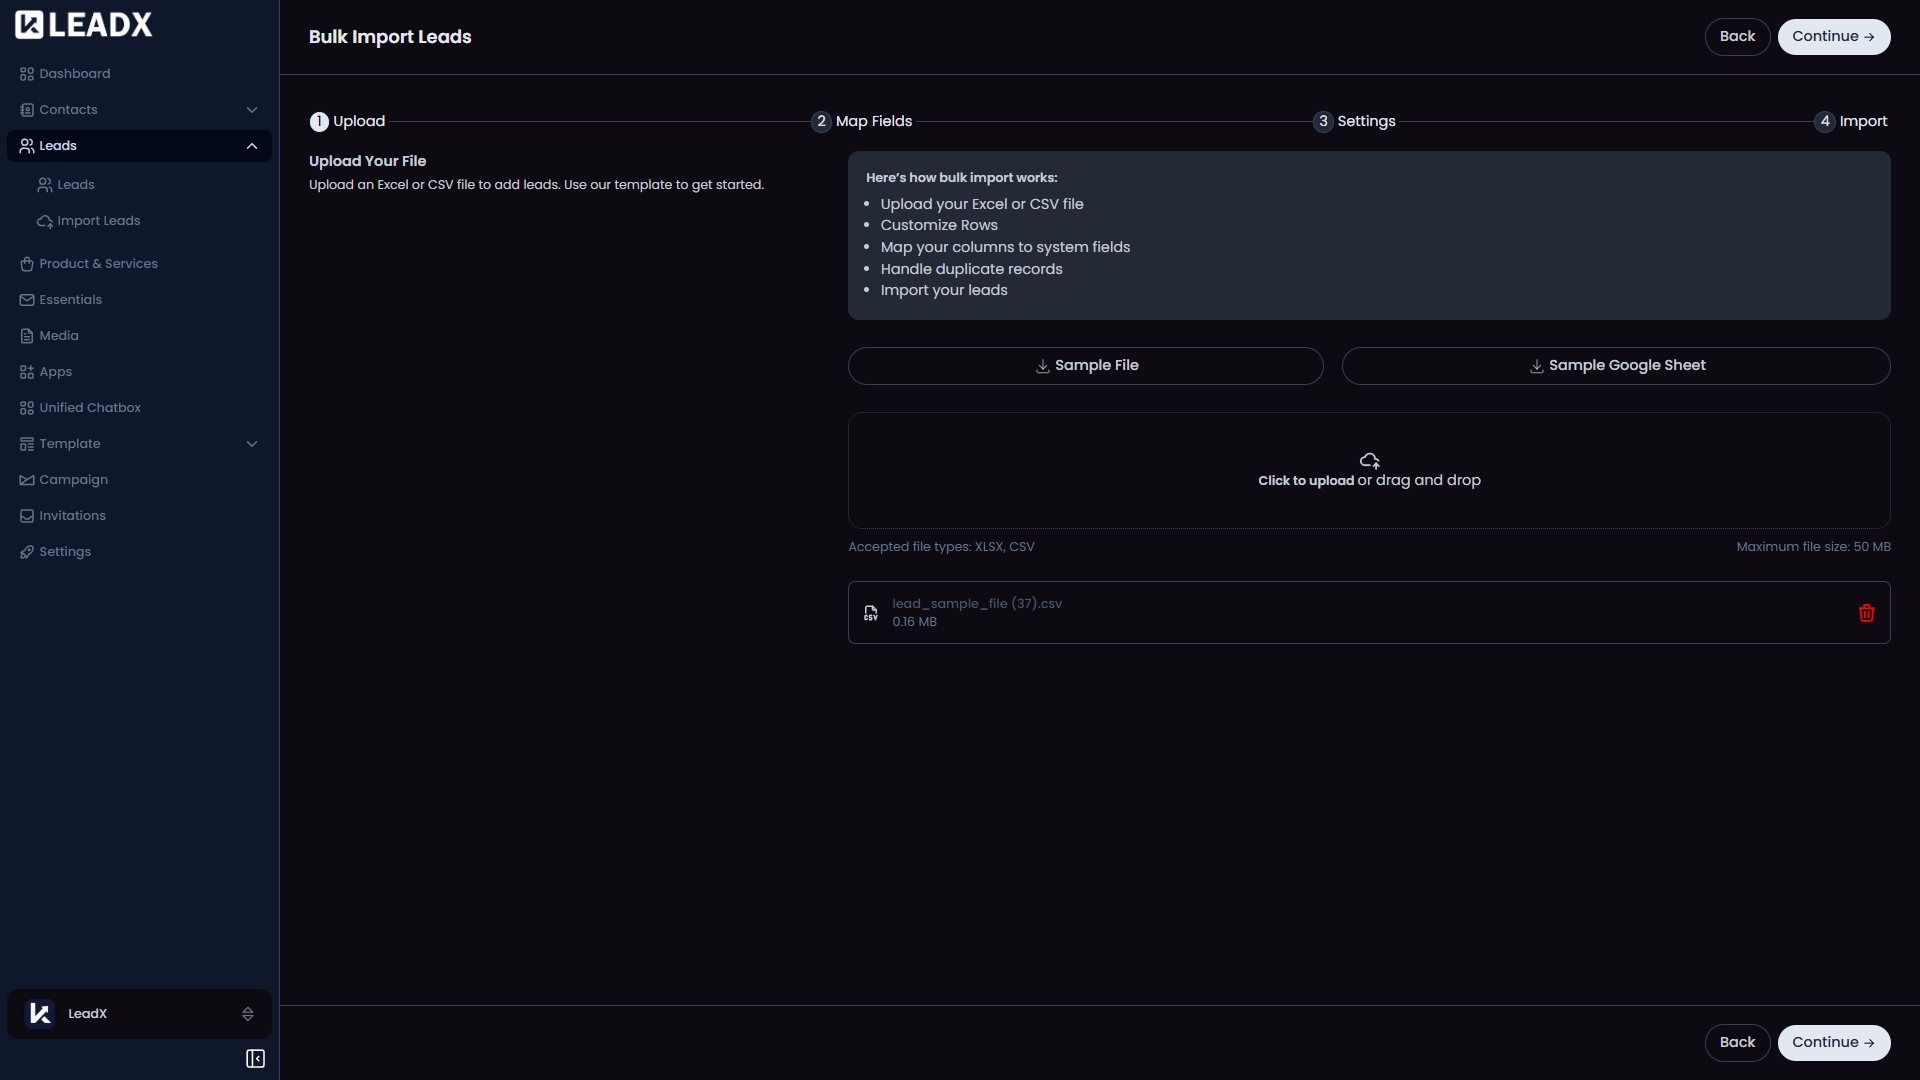
Click Start Import to begin.
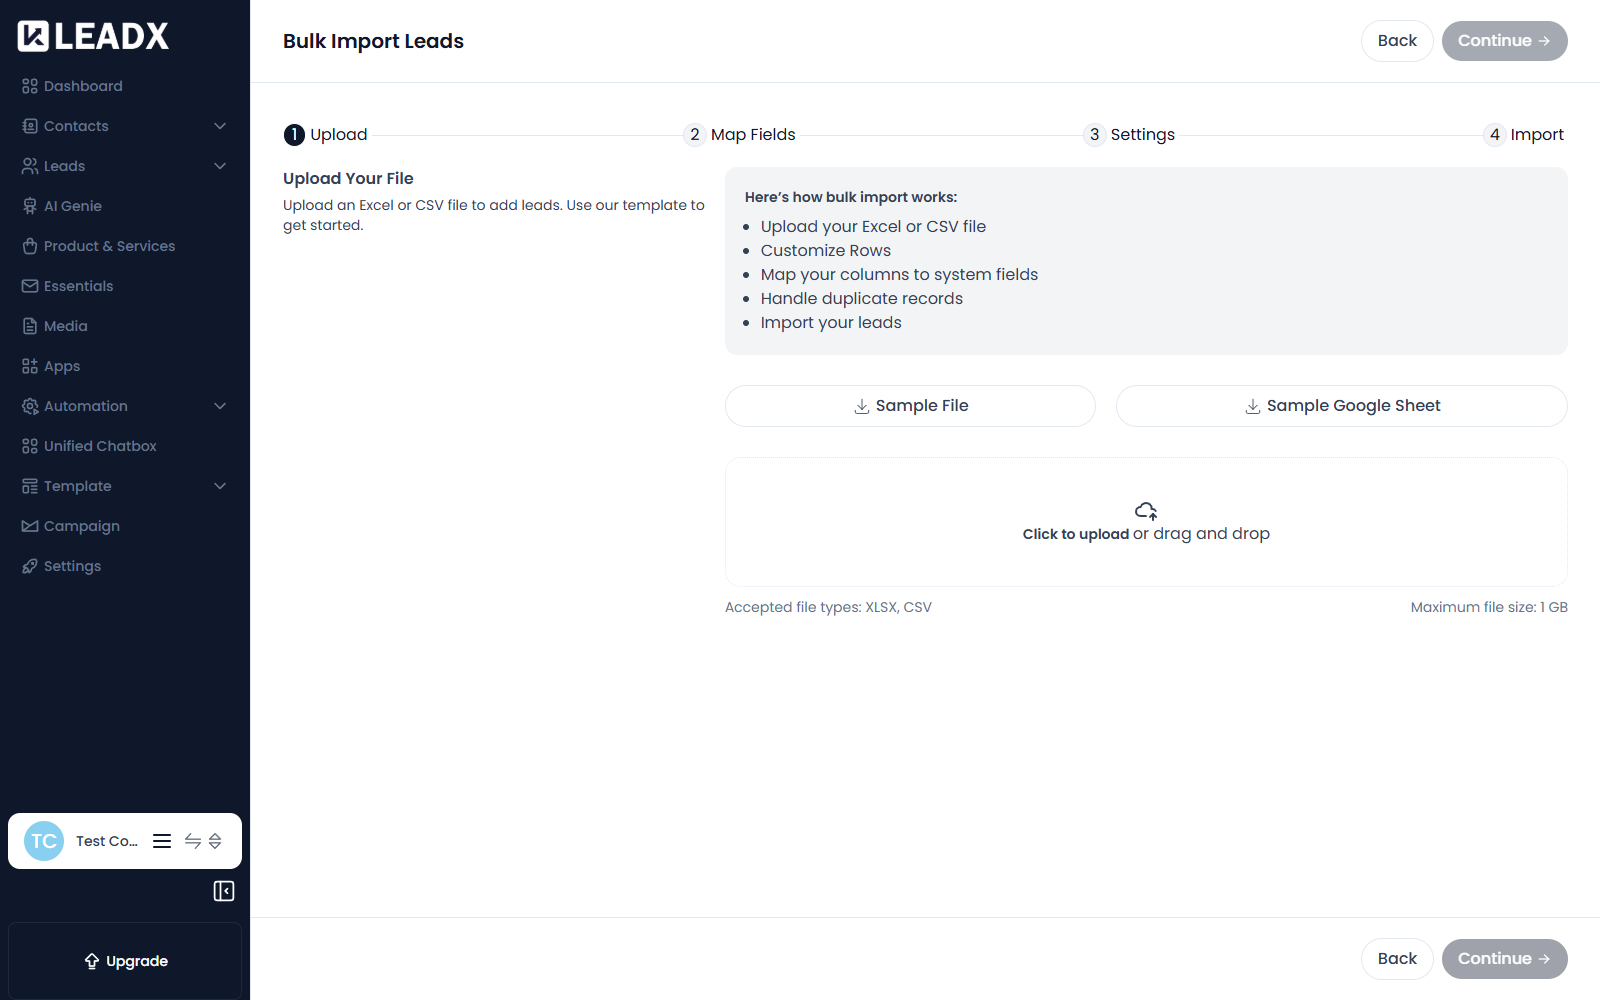
- Sample File — a template spreadsheet with the correct headings. The simplest way to avoid mapping work later.
- Sample Google Sheet — the same template as a Google Sheet.
- Upload area — click to browse, or drag and drop.
Accepted file types: XLSX, CSV Maximum file size: 1 GB
Click Continue.
Step 2 — Map Fields
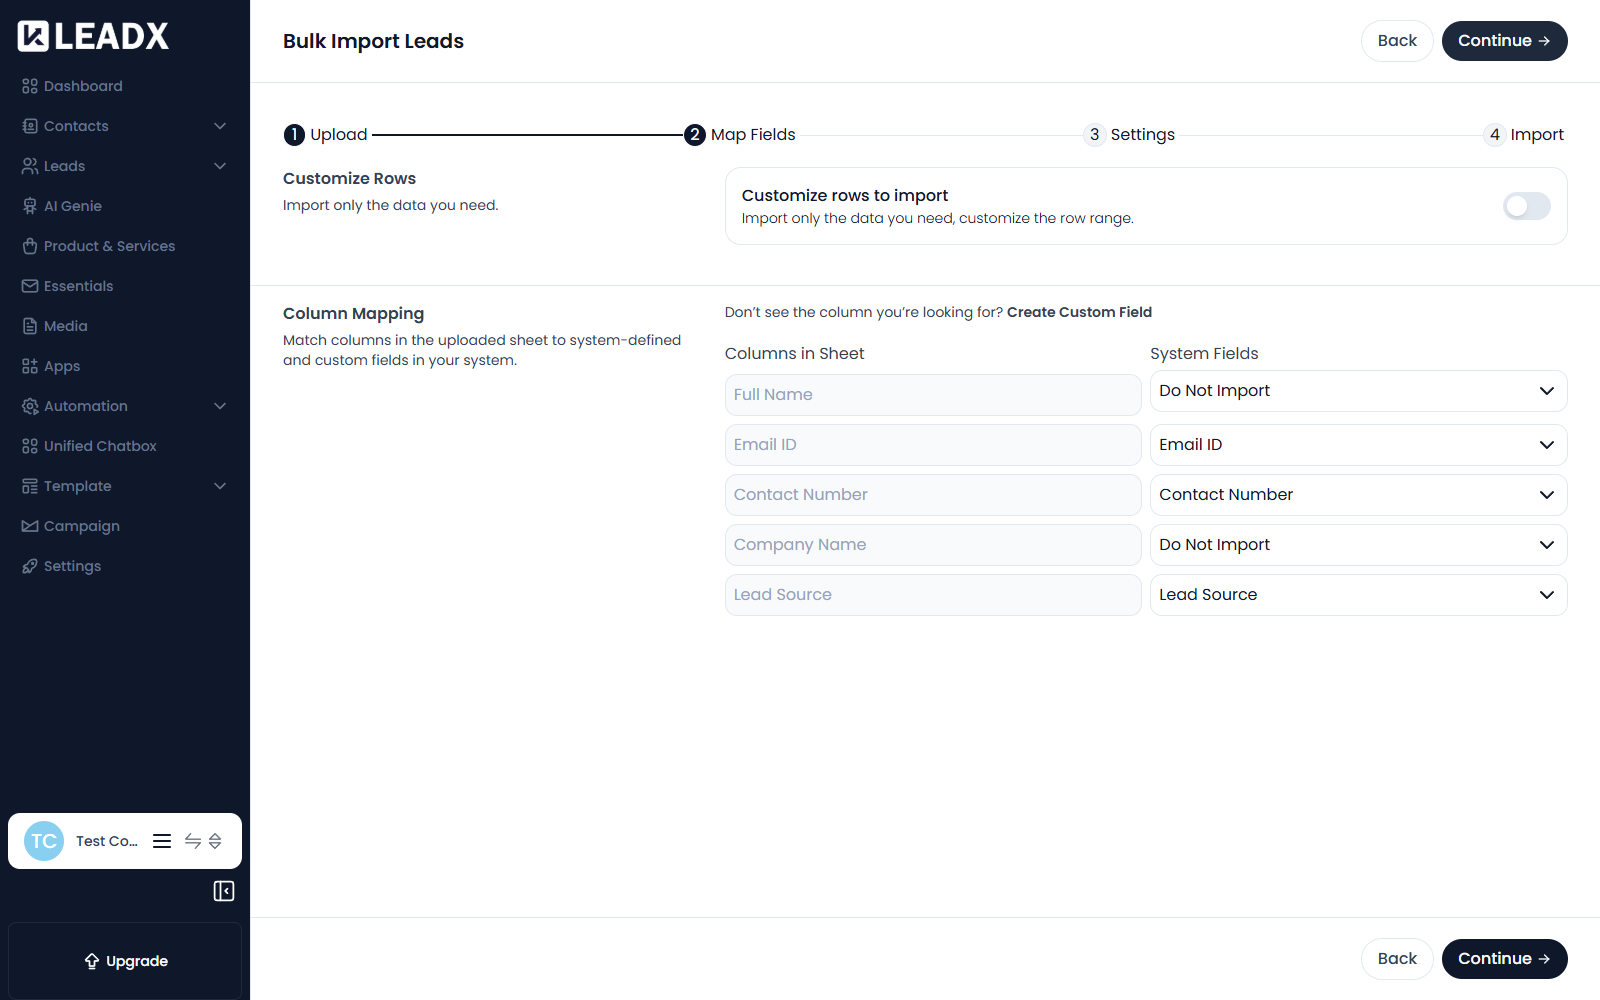
Customize Rows
Import only the data you need, customize the row range.
Restrict the import to part of the file — useful when a spreadsheet has headers, notes or totals you do not want.
Column Mapping
Match columns in the uploaded sheet to system-defined and custom fields in your system.
Each column in your sheet is listed under Columns in Sheet; choose the LeadX field it belongs to under System Fields.
Lead fields you can map to:
- Who the lead is for — Contact Name, Email ID, Contact Number
- Lead detail — Status, Stage, Priority, Enquiry At, Product/Services, Lead Source, Import By, Notes
- Campaign attribution — Campaign ID, Campaign Name, Ad ID, Ad Name, Adset ID, Adset Name
- UTM tracking — UTM URL, UTM Campaign ID, UTM Campaign Name, UTM Source, UTM Medium, UTM Term, UTM Content
- Ownership — Team, Team Member
- Custom fields — any lead field your company has added
Choose Do Not Import for columns LeadX should ignore.
Use Create Custom Field ("Don't see the column you're looking for?") if a column has no matching field.
Click Continue.
Step 3 — Settings
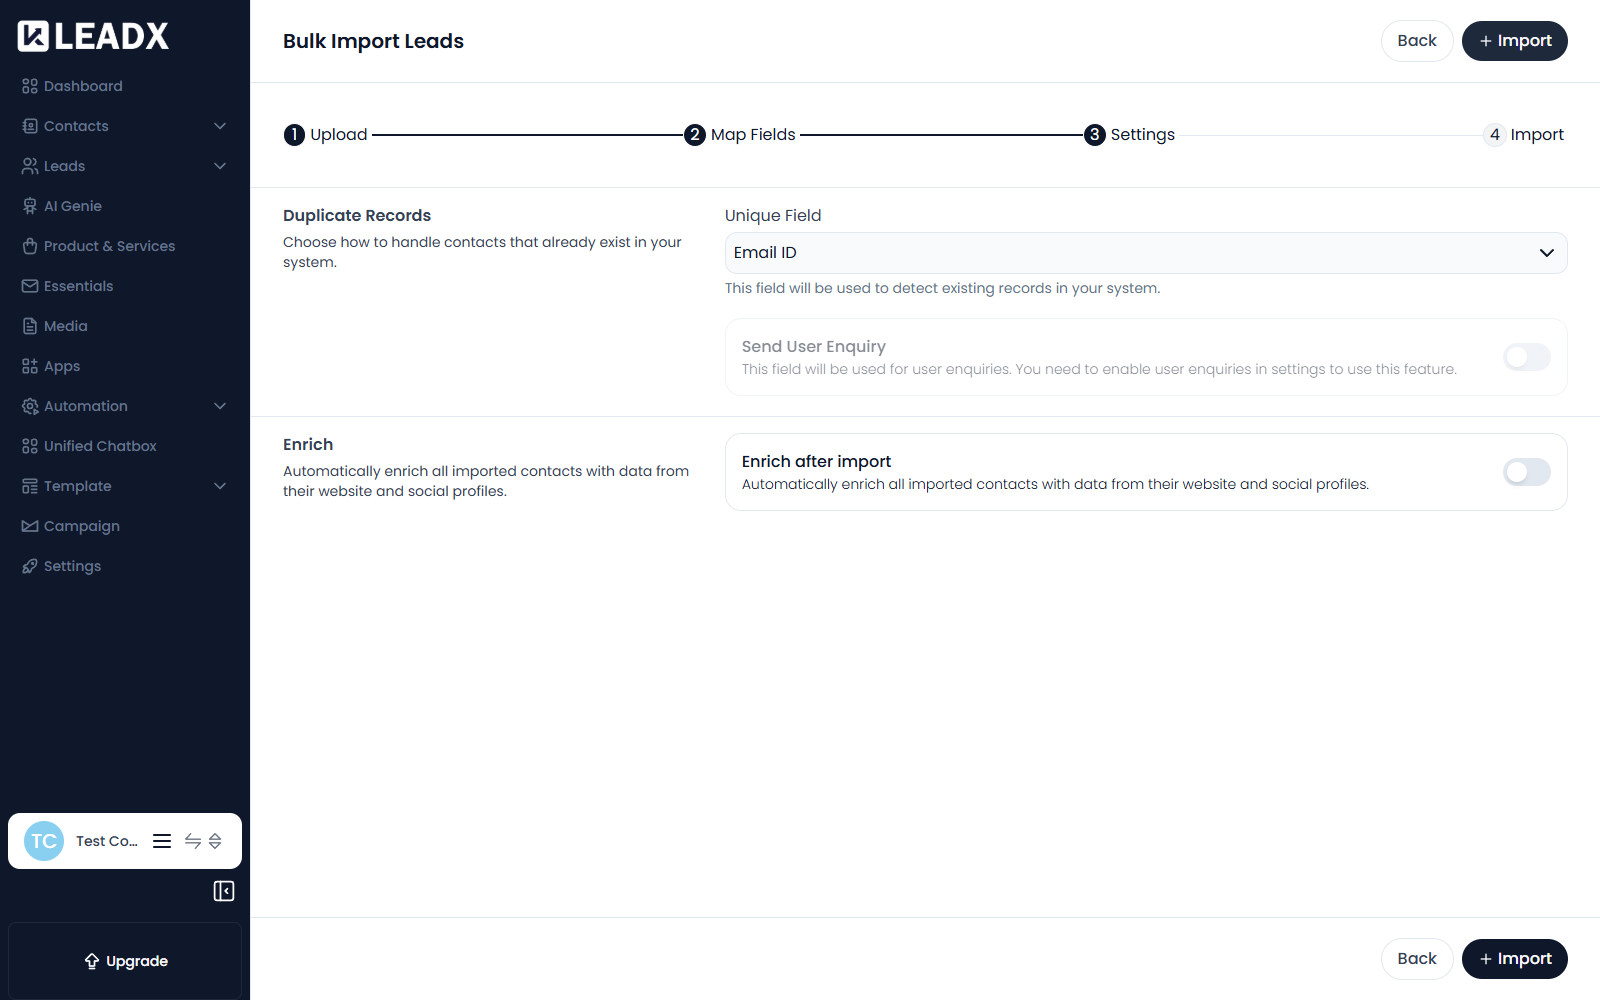
Duplicate Records
Unique Field — This field will be used to detect existing records in your system.
Choose the field used to spot rows that already exist, for example Email ID or Contact Number, and how existing records should be treated.
Send User Enquiry
This field will be used for user enquiries. You need to enable user enquiries in settings to use this feature.
This can send an acknowledgement to each imported lead over Email or WhatsApp.
- Email — shows Enable Email to configure until an email channel is connected
- WhatsApp — shows Enable WhatsApp to configure until WhatsApp is connected
Turning this on sends a real message to every person in your file as soon as the import runs. Check the audience and the message before enabling it on a large import.
Enrich
Automatically enrich all imported contacts with data from their website and social profiles.
Turn on Enrich after import to have LeadX fill in extra detail about each imported record from their website and social profiles. Enrichment is a plan feature and consumes credits.
Step 4 — Import
Click Import to run it. The import then appears in the list, where the Imported Records and Failed Records counts tell you how it went.
Helpful Notes
- Nothing is created until you click
Importon the final step.Backlets you revisit any earlier step. - Importing leads can fire your Workflows. A published workflow triggered by a lead being created will run for every imported row.
- Rows usually fail because a required field is empty or a value does not match an expected option — for example a Status that is not
Hot,WarmorCold. - To import people rather than opportunities, use Import Contacts.