Workflows
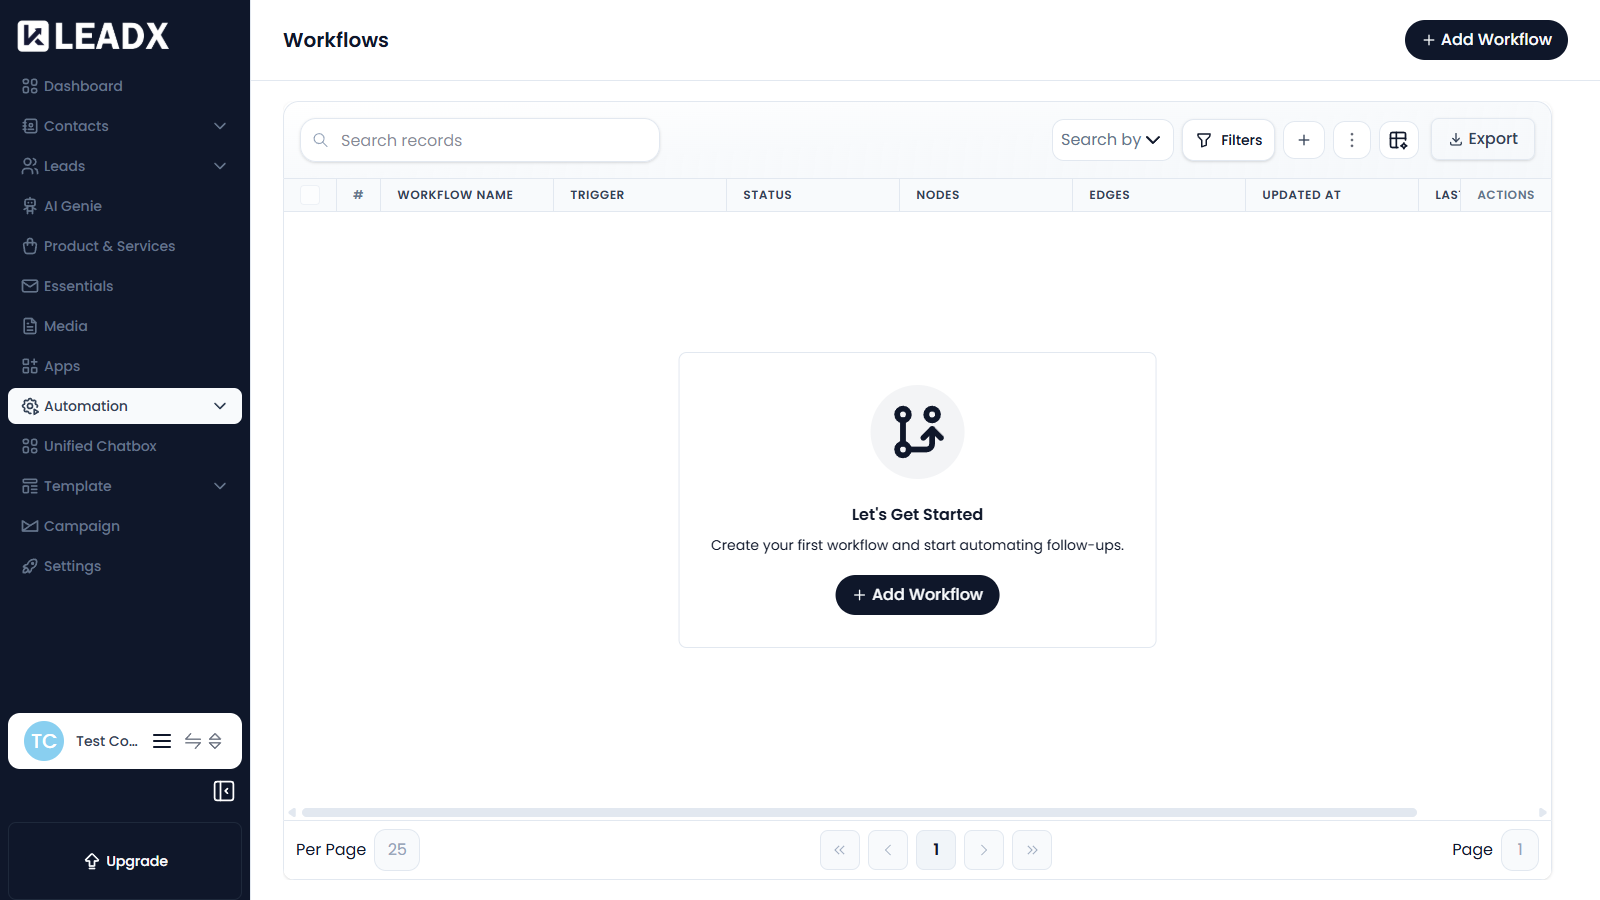
Before you create anything, the page invites you to build your first workflow:
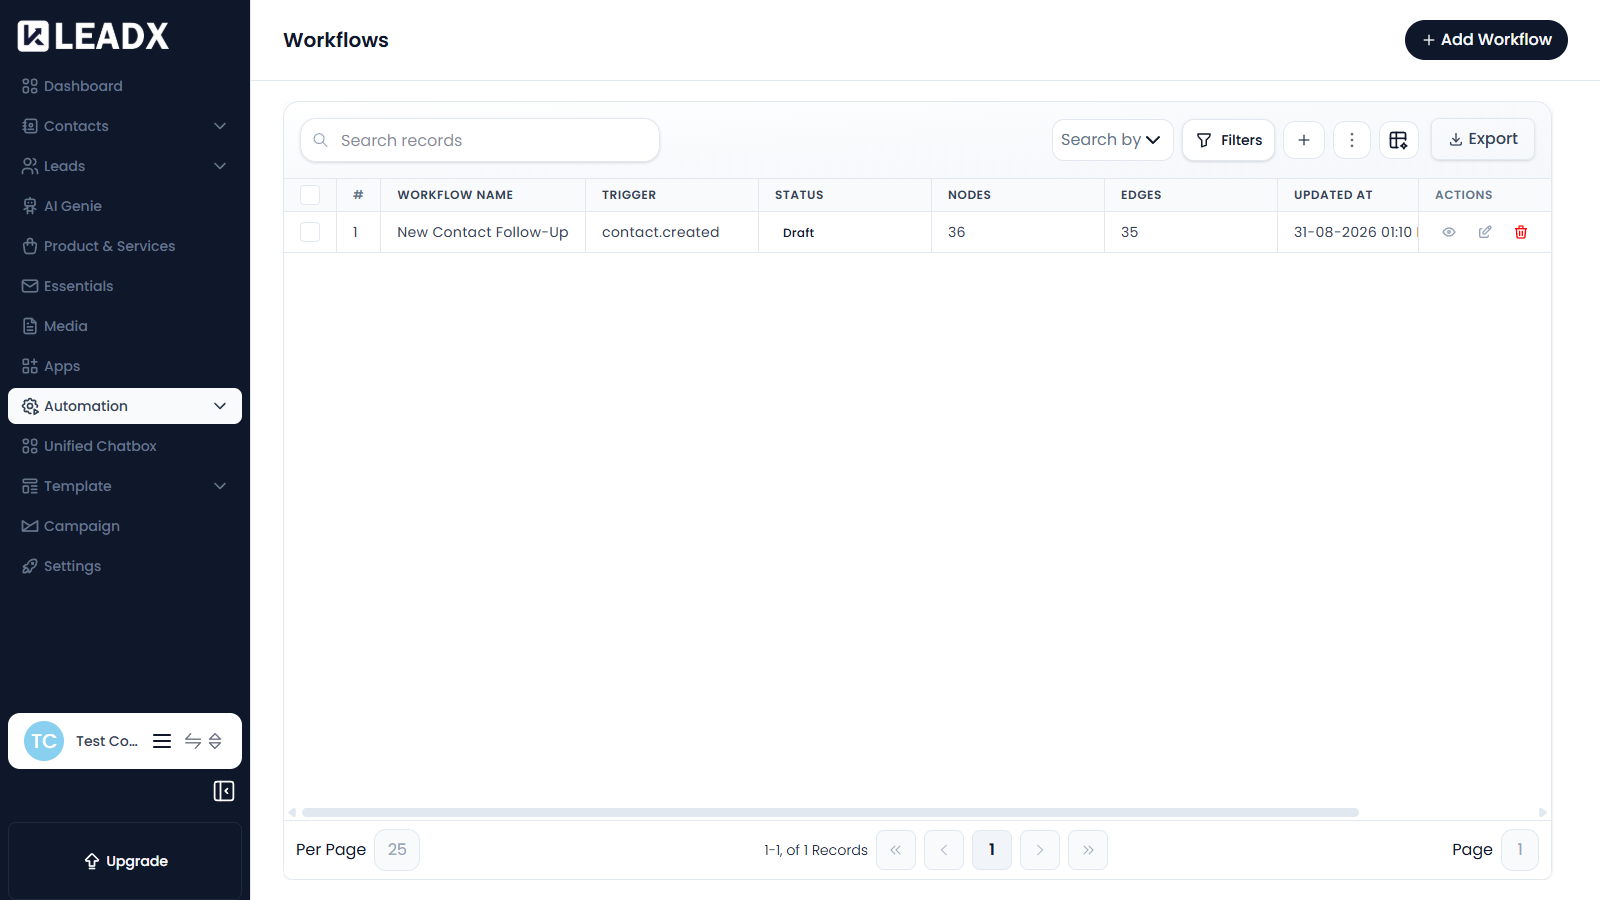
Once you have workflows, they are listed in a table:
Overview
A Workflow automates what happens after an event in your CRM. For example, when a new lead arrives you can have LeadX send a follow-up message, assign the lead to a team, or update a field, without anyone doing it by hand.
Workflows are built visually from nodes joined by connections.
Access
- Navigation path:
Sidebar > Automation > Workflows - Route:
/workflows - Access: available to every member.
What Users Can Do
- create a workflow
- choose the trigger that starts it
- build the steps visually on the workflow canvas
- turn a workflow on or off
- edit or delete an existing workflow
Steps To Add A Workflow
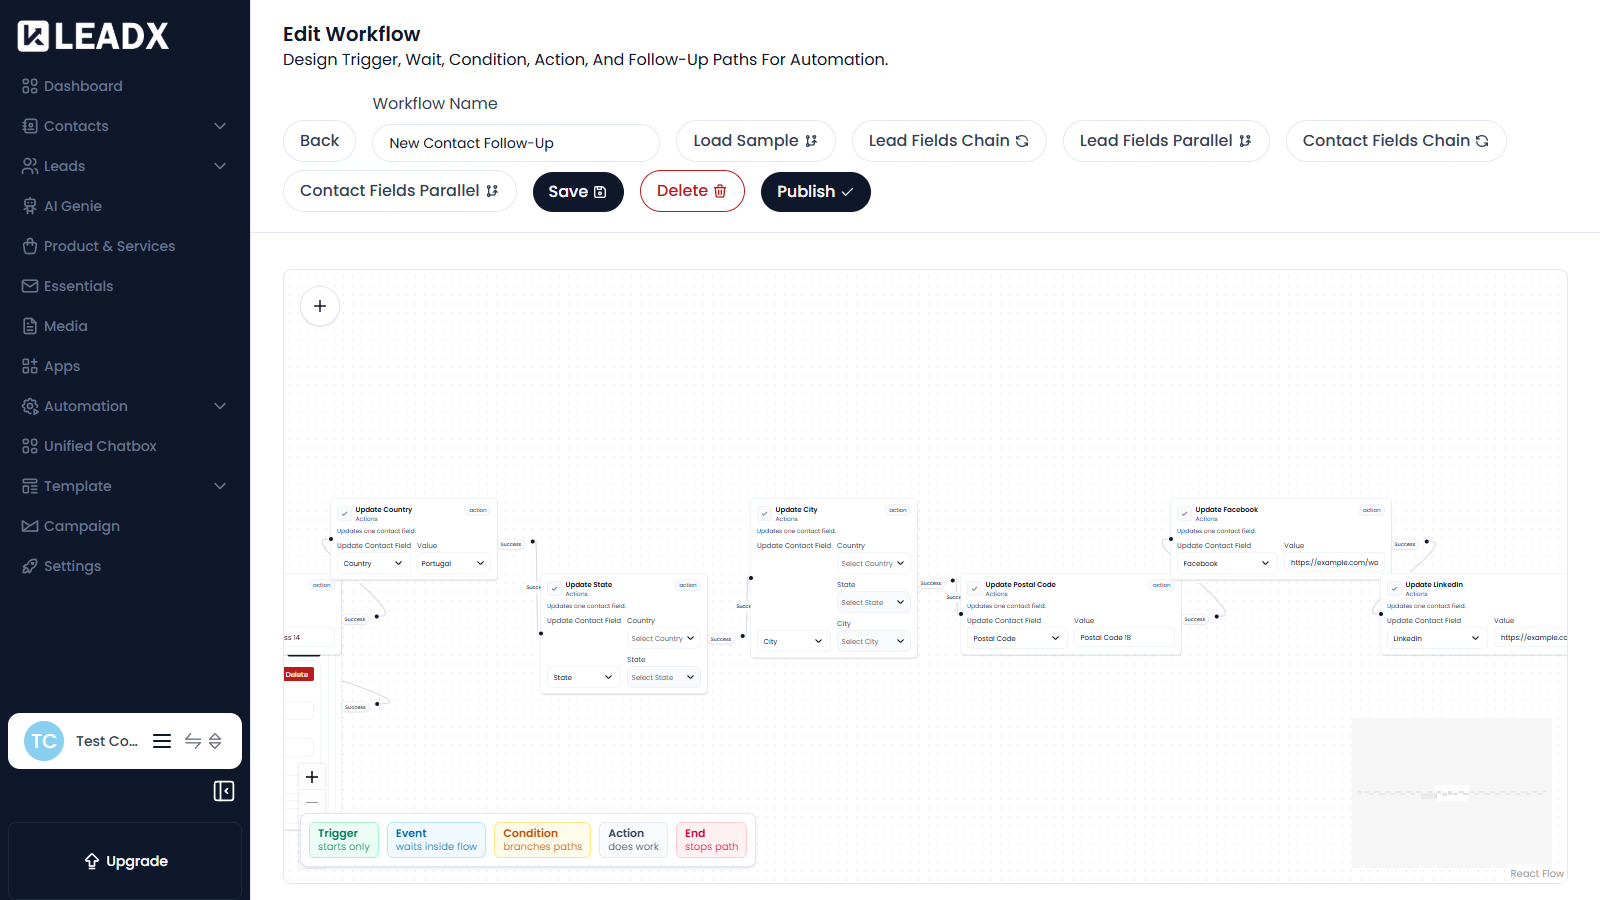
Workflows are built on a canvas:
- Click
Add Workflow. - Enter a
Workflow Name. - Set the trigger — choose what it triggers on (
Contact,Lead,Product / Service,SegmentorCron / Schedule) and when (for exampleCreatedorUpdated). - Add the steps you want to run, connecting them on the canvas.
- Click
Save. - Click
Publishwhen you are ready for the workflow to start running.
Node Types
The canvas legend shows what each kind of node does:
- Trigger — starts the workflow; it only has output connections
- Event — waits inside the flow
- Condition — branches paths
- Action — does work, such as updating a field
- End — stops a path
Load Sample
The Load Sample option fills the canvas with a ready-made flow you can study or adapt, such as Lead Fields Chain, Lead Fields Parallel, Contact Fields Chain or Contact Fields Parallel.
Table Details
The workflow list shows:
- Workflow Name
- Trigger
- Status
- Nodes
- Edges
- Updated At and Last Updated By
- Actions
Helpful Notes
- A saved workflow stays in
Draftstatus until you publish it, so it will not run yet. NodesandEdgesdescribe the size of the workflow — the steps it contains and the connections between them.- A published workflow can send real messages to real people, so review it carefully before publishing.