Lead Capture Forms
Overview
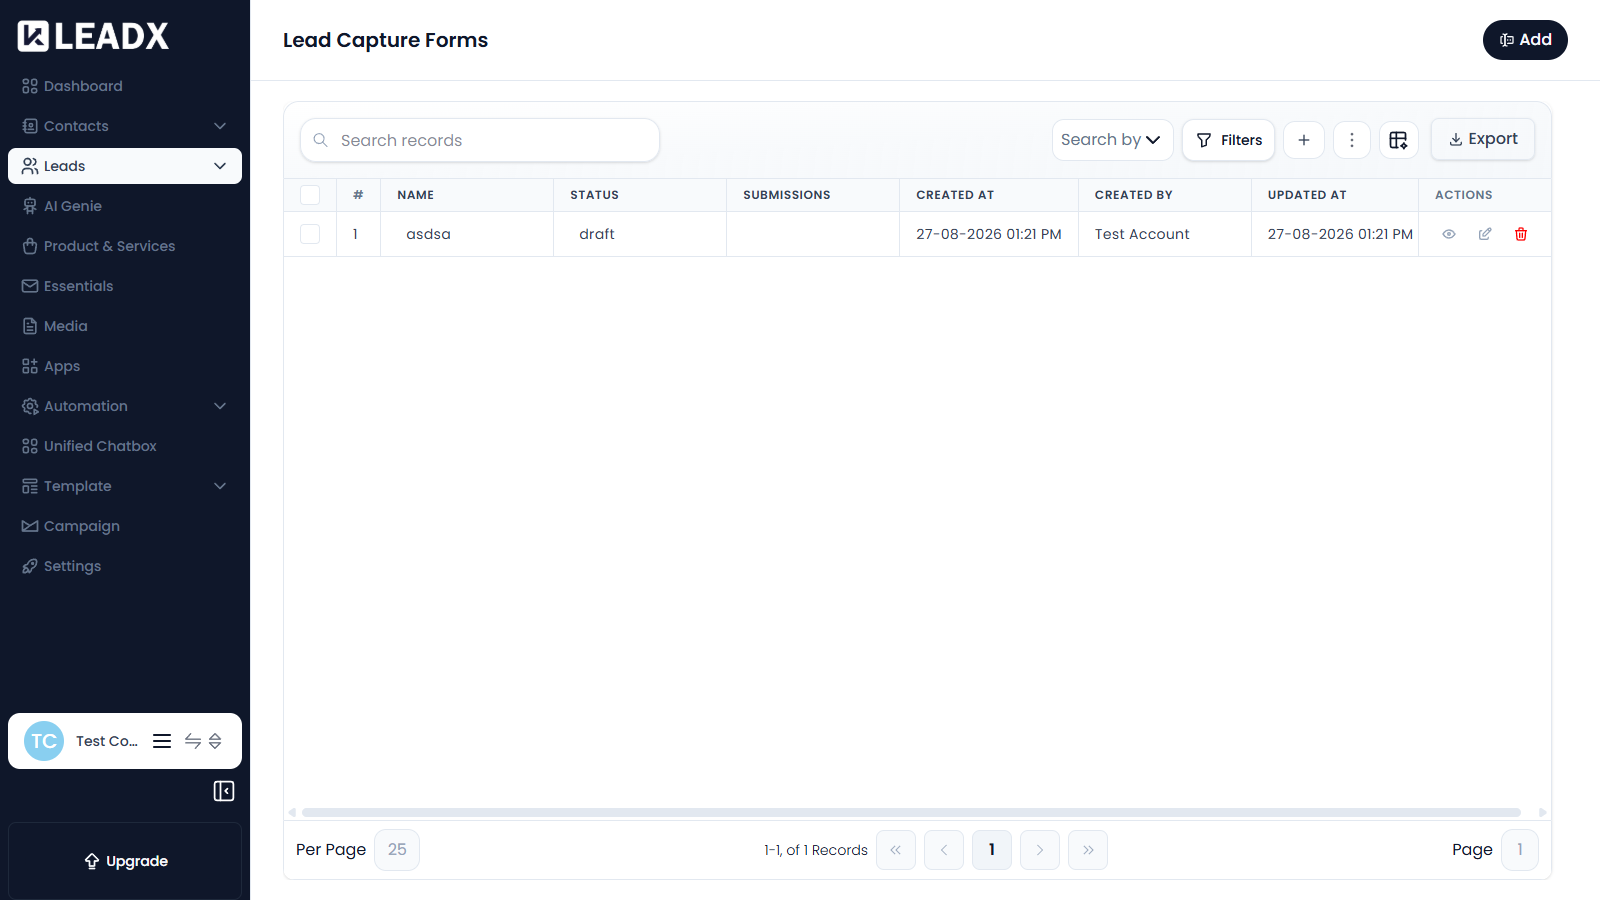
A Lead Capture Form is a form you publish so people can send you their details. Every submission creates a record in LeadX, so enquiries from your website or a shared link arrive straight in your CRM instead of an inbox.
You build the form, publish it, then share it as an embedded script, an iframe, or a plain link.
Access
- Navigation path:
Sidebar > Leads > Lead Capture Forms - Route:
/forms - Access: available to users who can view forms.
Prerequisites
- Nothing is required to build a form — the standard contact and lead fields are available straight away.
- To collect something LeadX does not have a field for, add it first under Contact Fields or Lead Fields.
- To place the form on your website you need somewhere to paste a snippet. If you only want to send people a link, no website is needed.
Add A Form
Click Add to open the form builder.
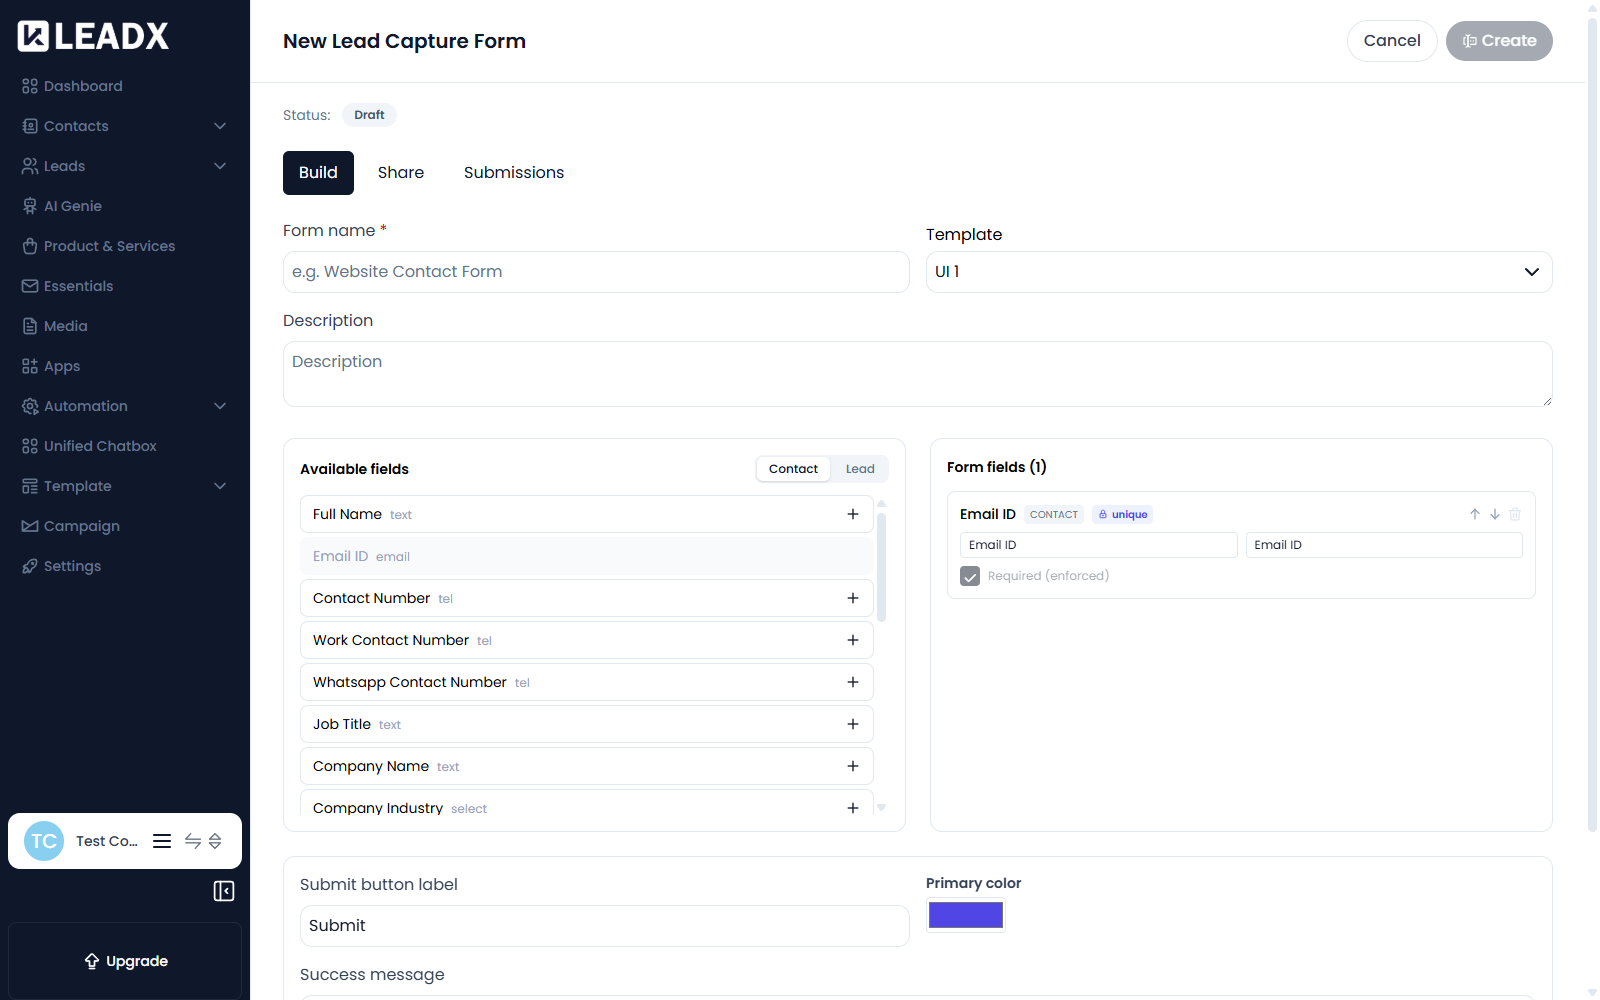
A new form is created with Status: Draft. The builder has three tabs — Build, Share and Submissions.
The Build Tab
| Field | What it does |
|---|---|
| Form name (required) | The form's name inside LeadX. Also used as the iframe title. |
| Template | The visual layout the form uses, for example UI 1. |
| Description | An internal note describing what the form is for. |
Available fields lists everything you can put on the form, split into two groups you switch between:
- Contact — details about the person: Full Name, Email ID, Contact Number, Work Contact Number, Whatsapp Contact Number, Job Title, Company Name, Company Industry, Company Size, Company Website URL, Company Location, Street Address, Postal Code, Facebook, LinkedIn, Twitter, Instagram, Youtube, TikTok, Personal Website URL
- Lead — details about the opportunity, such as status, stage and product interest
Each field shows the input type it will render as — text, email, tel, url, select or textarea — so you can tell how a visitor will fill it in.
Click a field to add it to the form.
Steps
- Click
Add. - Enter a Form name.
- Pick a Template.
- Add a description if it helps your team.
- Switch between Contact and Lead and click the fields you want to collect.
- Click
Create. - Open the
Sharetab and publish the form.
Publishing A Form
A new form is a draft, and a draft accepts no responses. The Share tab says so plainly:
This form is draft. Publish it so these links accept responses.
Click Publish in the header, next to the status, when the form is ready to go live.
The Share Tab — Where To Put The Form
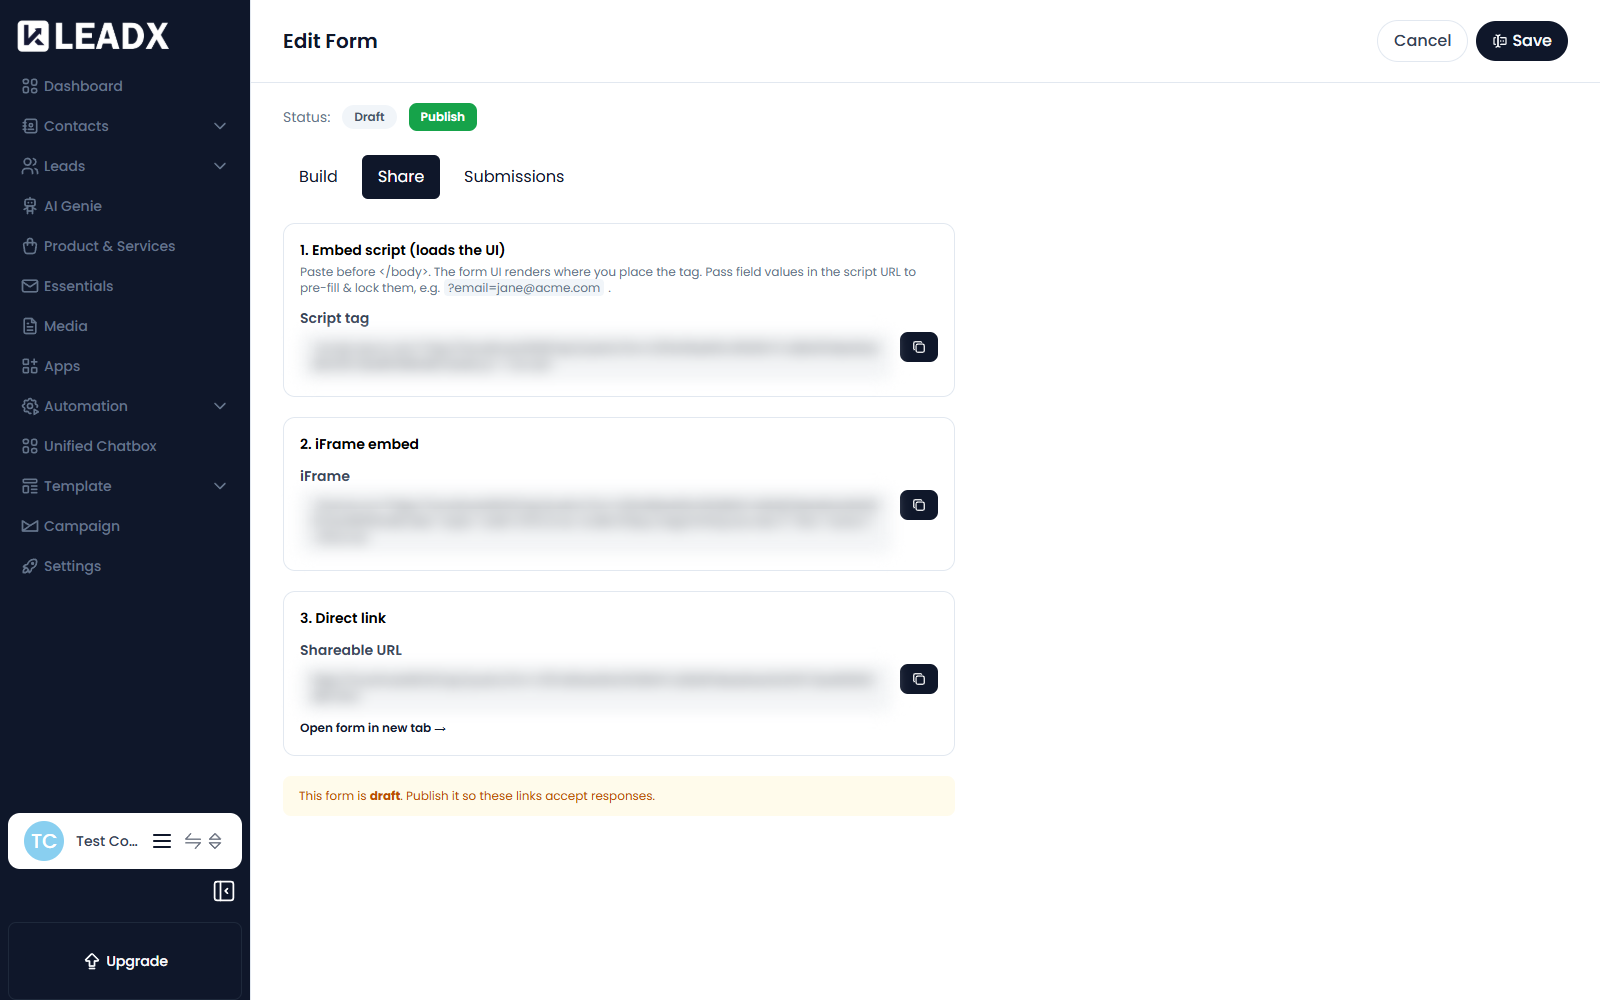
Three ways to use the form, all shown ready to copy.
1. Embed script (loads the UI)
Paste the script tag before </body> on your page. The form renders where you place the tag.
You can pre-fill and lock fields by passing values in the script URL, for example ?email=jane@acme.com — useful when you already know who the visitor is and do not want them changing it.
2. iFrame embed
An iframe snippet, sized to a sensible default width and height. Use this when you would rather keep the form in its own frame than let it render inline.
3. Direct link
A plain shareable URL you can email, put in a social bio, or send over WhatsApp. Open form in new tab → lets you check it yourself first.
The Submissions Tab — Where To See Responses
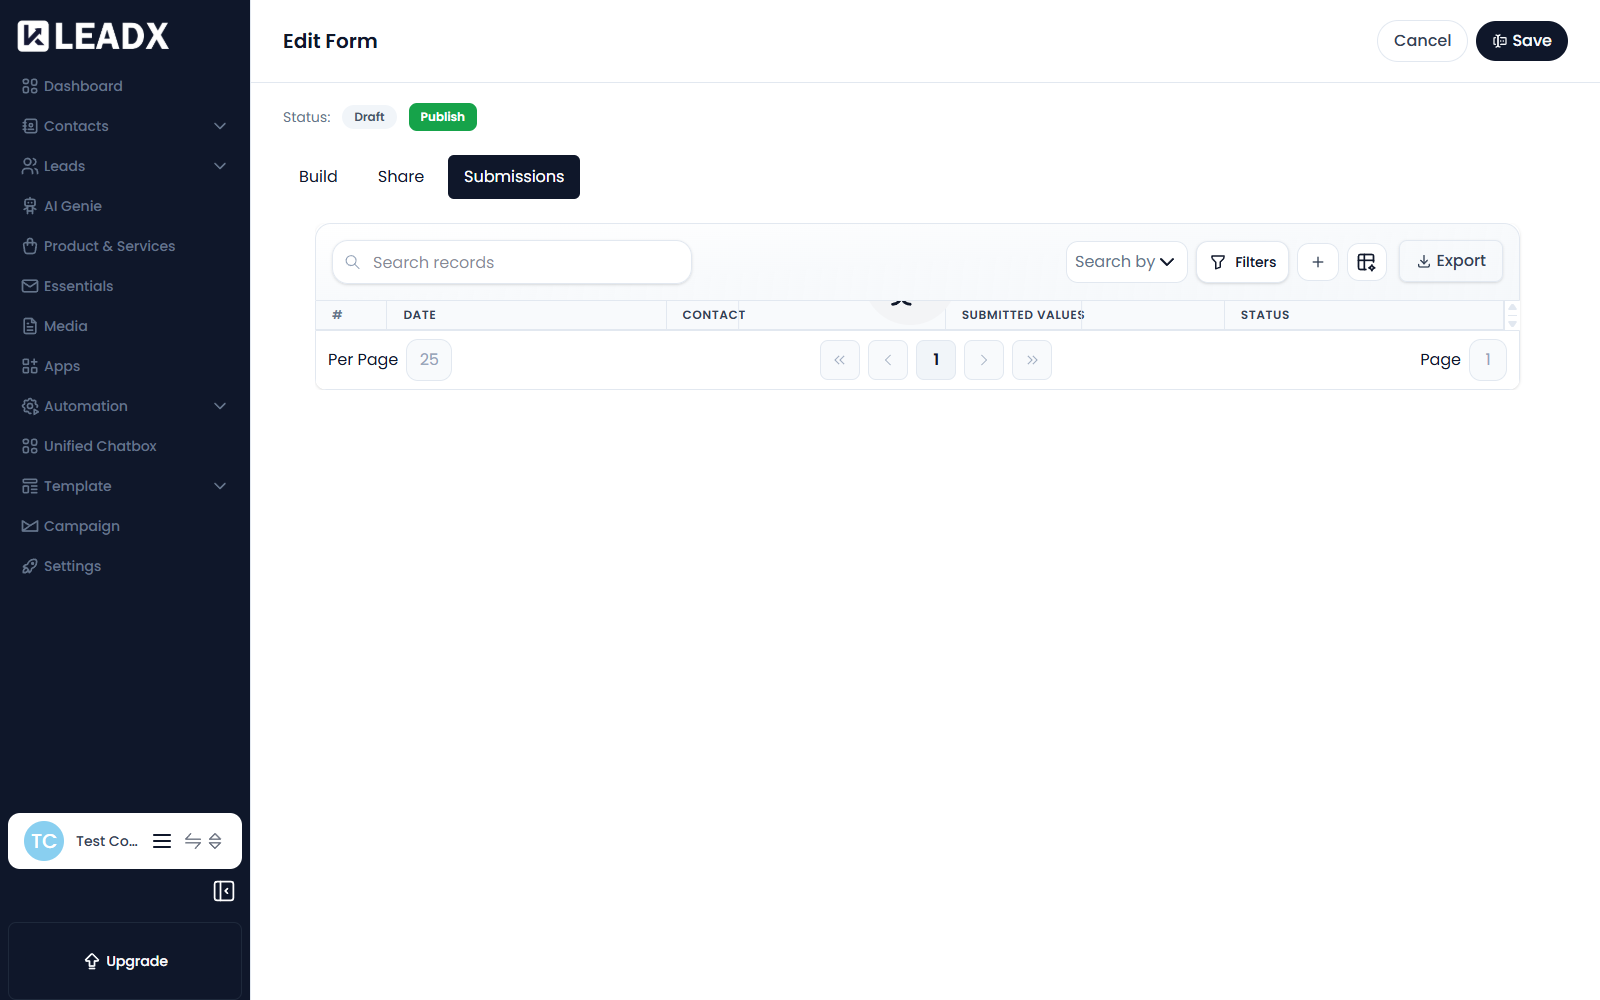
Every response to the form appears here.
| Column | Meaning |
|---|---|
| Date | When the form was submitted |
| Contact | The contact the submission was matched to or created as |
| Submitted Values | What the visitor actually entered |
| Status | The state of the submission |
Until anyone responds it shows No submissions yet.
You can Search by, apply Filters, and Export the responses.
Edit A Form
- Open the form from the list at
Sidebar > Leads > Lead Capture Forms. - Change anything on the
Buildtab — name, template, description or fields. - Click
Save.
Editing a published form changes what visitors see straight away, so review before saving.
Delete A Form
- Find the form in the list.
- Open its row actions and choose delete.
- Confirm in the popup.
Deleting a form stops its links working. Submissions already collected remain as contacts and leads in your CRM.
Table Details
| Column | Meaning |
|---|---|
| Name | The form's name |
| Status | draft or published |
| Submissions | How many responses it has received |
| Created At / Created By | When it was made, and by whom |
| Updated At | When it last changed |
| Actions | Edit and delete controls |
Helpful Notes
- A form stays in
draftuntil you publish it, and its links will not accept responses while it is a draft. This is the most common reason a form "does not work". - Pre-filling through the script URL also locks the field, so the visitor cannot change it.
- Submissions can fire your Workflows — a published workflow triggered by a contact or lead being created will run for each response.